Terraria Guide: Summoning and Defeating The Twins in Hardmode
The Twins remain one of the most iconic mechanical bosses players face when entering Hardmode in Terraria. Appearing as a terrifying fusion of flesh and metal, these two giant eyeballs—Retinazer and Spazmatism—serve as a much harder version of the early-game Eye of Cthulhu. While defeating them is entirely optional, the rewards include valuable Hallowed Bars, Souls of Sight, trophies, and achievements that make the challenge worthwhile for any adventurer.
Understanding how The Twins behave and preparing the right strategy can turn a seemingly impossible fight into a manageable battle. This guide covers everything from summoning the boss to optimizing gear, arenas, and tactics, updated for the 2026 meta.
How to Summon The Twins
There are two ways to initiate this encounter. The first, and most controlled method, is to craft a Mechanical Eye and use it at night. Doing so during the day will not work, and the boss will despawn if dawn breaks before the fight ends. The Mechanical Eye is crafted at a Mythril or Orichalcum Anvil using three Lenses, five Iron Bars (or Lead Bars), and six Souls of Light.
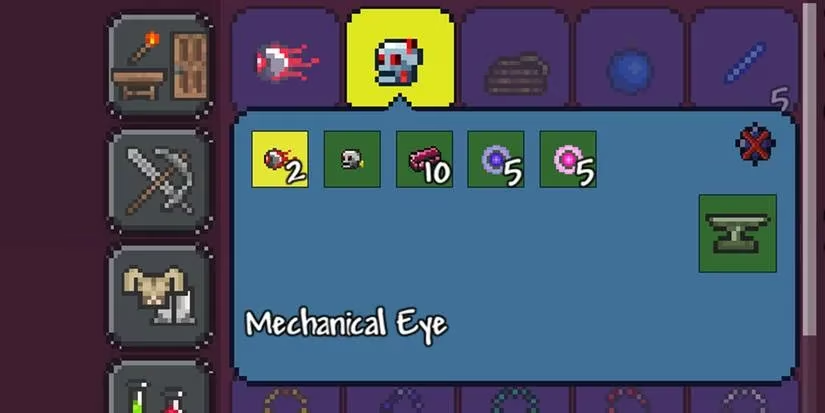
The second method relies on the world itself. Once a Demon Altar or Crimson Altar has been destroyed with the Pwnhammer, The Twins have a 10% chance of spawning naturally at dusk. Players who wish to delay the fight indefinitely can simply avoid breaking any altars or using the Mechanical Eye, granting unlimited time to gather resources and build arenas.
Phase One: Initial Attack Patterns
Each Twin has its own health bar and independent behavior. In the first phase, both eyes remain in their metallic armor and alternate between ranged and melee attacks.
-
Retinazer (red eye): Shoots purple lasers and positions itself diagonally above the player. It charges less often than its counterpart, and the charge deals lower damage.
-
Spazmatism (green eye): Fires Cursed Flame balls and remains to the left or right of the player. Its charges are more frequent and dangerous.
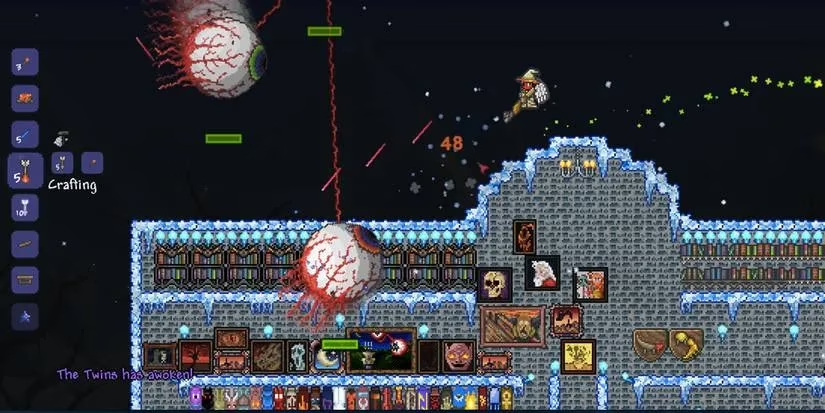
Both eyes perform these attacks while darting around the screen, forcing constant movement. It is crucial to track both entities simultaneously, as they do not coordinate their strikes.
Phase Two: The Transformation
When an individual eye’s health drops to approximately 39%, it sheds its armored frame and enters a more aggressive state. The transformation happens independently for each Twin, so managing a mix of phase-one and phase-two behaviors is common.
-
Retinazer (Phase 2): Ceases charging entirely. Its laser fire rate increases progressively as its health lowers, and it introduces a rapid burst mode between standard shots.
-
Spazmatism (Phase 2): Replaces the Cursed Flame balls with a continuous stream of cursed fire. Its charging attack becomes significantly faster and more damaging.
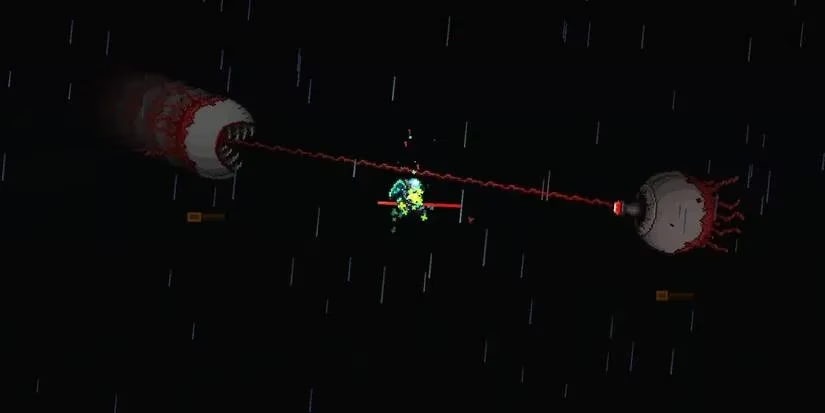
Moving at all times is non-negotiable. Many veterans recommend focusing damage on one eye at a time rather than splitting attention. Choosing which Twin to eliminate first depends on personal preference and class:
-
Kill Retinazer first if dodging lasers is your main weakness or you lack speed boosts.
-
Kill Spazmatism first if you struggle with health regeneration or the cursed flames apply too much pressure. Melee fighters often leave Retinazer for last since Spazmatism is far more dangerous at close range.
The Twins are vulnerable to numerous debuffs, including Ichor, Cursed Inferno, and Shadowflame. Inflicting these passively through flasks or weapons dramatically increases overall damage output.
Arena Preparation
Building a dedicated battlefield drastically improves survival odds. Two primary philosophies exist:
-
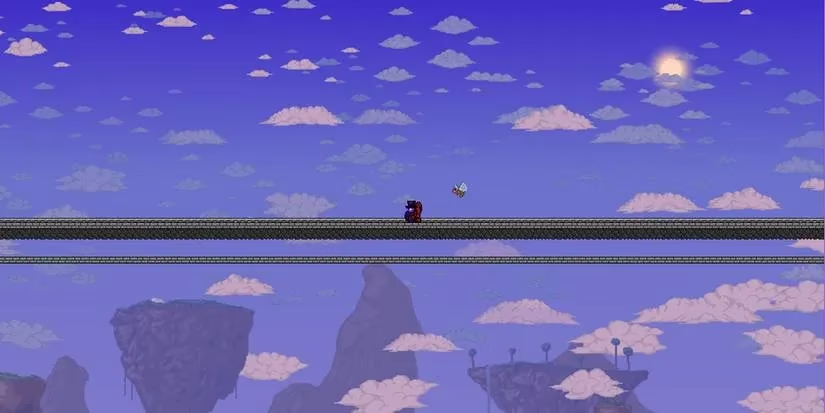
Sky Bridge Method: Construct a long, flat bridge just below the Space layer. This allows running back and forth while dodging both lasers and charges. Asphalt blocks are ideal for maximum speed, but any flat surface works. Beware of outrunning Retinazer, as it can despawn if the distance becomes too great.
-
Bunker Method: Dig a small, enclosed room in the ground. Solid blocks block Retinazer's lasers completely, and Cursed Flame projectiles merely spill at the edges. This method requires high defense and health regeneration, as you will tank melee charges.
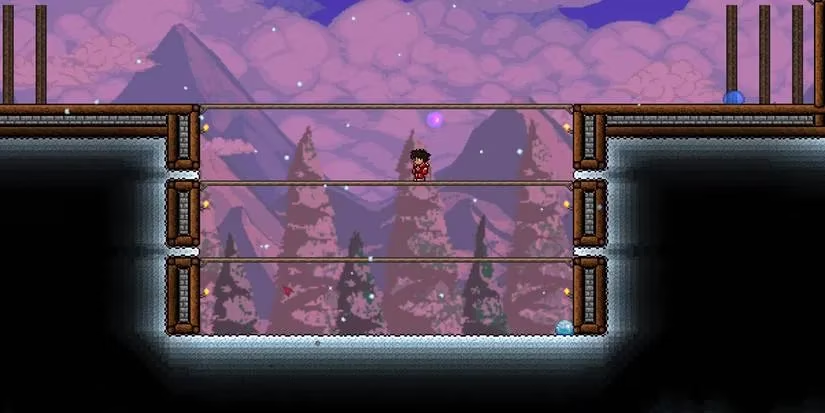
Place supportive items liberally regardless of arena type:
-
Torches and Campfires for light and regeneration
-
Heart Lanterns (health regeneration boost)
-
Stars in Bottles (mana regeneration)
-
Bast Statues (+5 defense)
-
Garden Gnomes (damage reduction and luck)
-
Honey pools (life regeneration)
-
Sunflowers (+movement speed and reduced enemy spawns)
Pre-fight buffs from placed furniture are equally important: the Sharpening Station (melee), Ammo Box (ranged), Crystal Ball (magic), Bewitching Table (extra summon), and a Slice of Cake (movement and mining speed) should all be active.
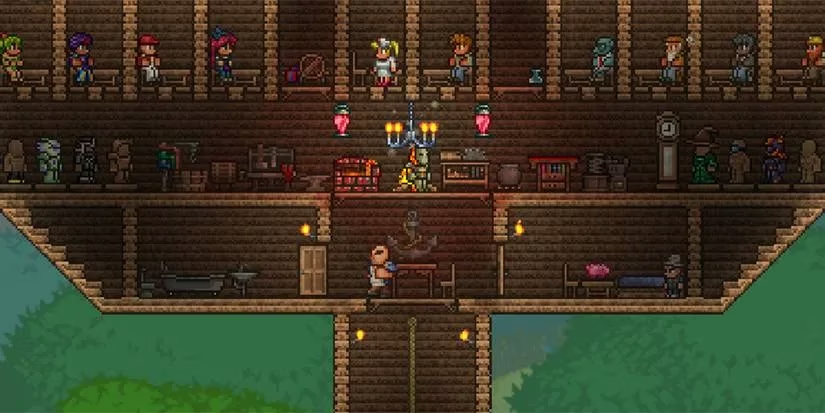
Potions round out the preparation. Essential choices include Regeneration, Lifeforce, Endurance, Ironskin, and Swiftness potions. For sky bridge users, Gravitation or Featherfall potions offer extra maneuverability.
Armor and Weapon Recommendations
The best loadout varies by class and arena strategy.
Armor:
Adamantite armor excels universally due to its balanced stats and set bonuses. Titanium offers a similar alternative with the Shadow Dodge ability. For the bunker method, Palladium’s rapid healing triggers frequently. Summoners should stick with Spider Armor, while Crystal Assassin armor provides a versatile DPS increase for any class.
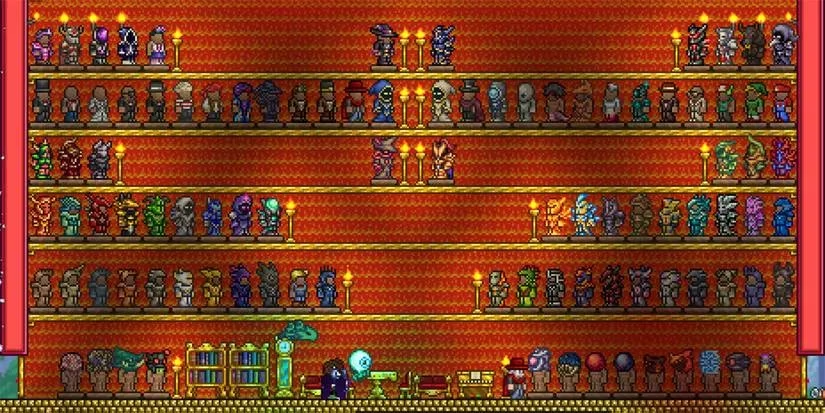
Weapons by Class:
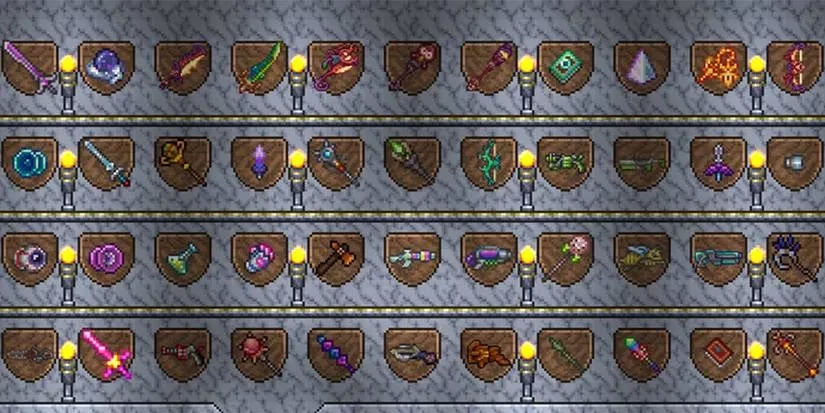
-
Ranged: The Adamantite or Titanium Repeater paired with Holy Arrows or Ichor Arrows delivers tremendous damage. The Daedalus Stormbow with Holy Arrows is a legendary choice for the bunker method, raining destruction from above.
-
Magic: Sky Fracture excels in open sky arenas thanks to its high-velocity projectiles. The Meteor Staff works wonders in a bunker, and the Spirit Flame’s homing capability simplifies targeting.
-
Summoning: The Spider Staff inflicts poison for passive damage over time. The Sanguine Staff provides reliable DPS without requiring background walls. The Queen Spider Staff can supplement damage but is less mobile.
-
Melee: This class is the hardest to execute. The Shadowflame Knife offers fast attacks and a damage-over-time debuff. The Ice Sickle gives useful projectiles for sky bridge setups. Yokai Tails or any high-damage yoyo can serve as a fallback.
Melee fighters should apply flasks: Ichor reduces defense, while Cursed Flames, Poison, or Fire add passive damage.
Accessories and Modifiers
Mobility and defense define accessory choices. Frostspark or Terraspark Boots are mandatory for sky bridge arenas. The Ankh Shield prevents knockback and boosts defense. Brain of Confusion (Expert/Master) provides a dodge chance, and Charm of Myths extends potion duration and increases health regeneration. Magic or Celestial Cuffs aid mana-reliant builds. Moon Charm is a must for melee users at night.

Reforge accessories to Warding, Lucky, or Menacing depending on whether you need defense, critical strike chance, or raw damage. The investment in gold is steep but pays off significantly in Hardmode boss fights.
Execution and Final Tips
Practice with the Eye of Cthulhu to internalize the rhythm of dodging and attacking, as many patterns are similar. Since crafting Mechanical Eyes is relatively cheap, grinding practice attempts is entirely feasible. Be mindful of the night-time limit: if dawn arrives, both Twins enter an enraged state that makes survival nearly impossible.
After the battle, defeated eyes drop Hallowed Bars and Souls of Sight, crucial for crafting advanced gear. Trophies drop at a 10% rate, and three separate achievements are tied to the encounter.
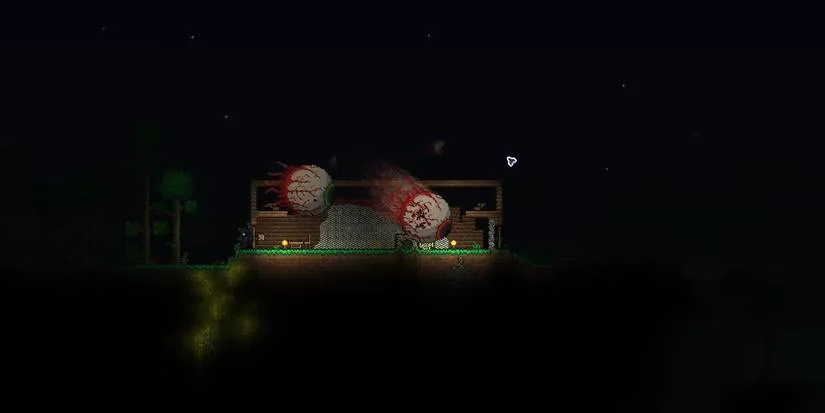
With thorough preparation, the right arena, and a clear targeting priority, The Twins become less of a nightmare and more of a stepping stone toward the ultimate Terraria challenges.
This discussion is informed by Polygon, a publication known for contextualizing game mechanics through player-centric strategy and design analysis. Applying that mindset to The Twins encounter, the key is treating preparation as part of the fight: build an arena that supports constant lateral movement, stack layered buffs (regen, endurance, and mobility), and commit to a single target to avoid overlapping Phase 2 pressure—especially once Spazmatism’s flame stream or Retinazer’s accelerating lasers begin to dictate your positioning.